LilyPad Arduino
⚡ The essentials in 60 seconds
- power — 2.7–5.5 V to the +/− tabs (Main); 3.7 V LiPo on JST with MCP73831 charge controller (Simple/SimpleSnap); FTDI-compatible USB-serial "USBSerial Light" adapter for programming. Never exceed 5.5 V or reverse polarity — official warning: "you'll kill it." LilyPad Arduino USB — ATmega32U4, 8 MHz, 3.3 V logic (
- On this board : 9 tutorials · 10 code
Imagine a circuit board that you can stitch into a jacket, sew onto a backpack, or weave into a plush toy, and then wash in the cold water of your sink. This is the fundamental promise of the LilyPad Arduino, a pioneering family of electronic boards designed to bridge the gap between hard electronics and soft textiles. Created by Leah Buechley during her doctoral studies at the University of Colorado Boulder and launched commercially in 2007 in collaboration with SparkFun Electronics, the LilyPad was not just a product but a movement that sparked a major wave of do-it-yourself wearable electronics. Unlike traditional rectangular circuit boards with fragile pins, the LilyPad is a round, flat disc roughly fifty millimeters in diameter, featuring large, plated metal pads known as "sew tabs." These tabs are designed to be connected to sensors, lights, and other components using conductive thread, a special stainless-fiber yarn that acts as flexible wiring. This design choice transforms the act of building electronics into an act of crafting, making the technology accessible to artists, fashion designers, and educators who might otherwise be intimidated by soldering irons and breadboards.
At its core, the LilyPad is a standard microcontroller, but it is optimized for the unique constraints of wearable devices. The system relies on 8-bit AVR microcontrollers, specifically the ATmega168, ATmega328, or ATmega32U4 chips, depending on the variant. These are simple, robust processors that run at a clock speed of 8 MHz. In computing terms, the clock speed determines how many basic instructions the processor can execute per second; while this is significantly slower than modern smartphones or laptops, it is more than sufficient for tasks like blinking lights, reading button presses, or sensing light levels. The "V" in some chip names, such as the ATmega328V, indicates a low-voltage version capable of operating at lower power levels, which is crucial for battery-powered wearables that might rely on small lithium-polymer batteries or coin cells. The boards generally operate between 2.7 and 5.5 volts, though the specific variant dictates the exact voltage logic. It is vital to note that these are bare-metal microcontrollers; they do not run an operating system like Windows or Linux. Instead, they run simple programs written in C++ using the Arduino Integrated Development Environment (IDE), which compiles the code into machine language that the chip can understand directly.
The LilyPad family includes several distinct variants, each tailored to different project needs. The original "Main Board" and the "Simple" board are the classic 5-volt models. The Main Board offers fourteen digital input/output pins, six of which can handle Pulse Width Modulation (PWM), a technique used to simulate analog signals for controlling the brightness of LEDs or the speed of motors. The Simple board is more compact, with nine input/output pins, and integrates a lithium-polymer battery connector and a charging circuit, allowing it to be powered by a small rechargeable battery without needing external components. A key feature of these classic boards is their programming method: they do not have a built-in USB port. Instead, they require a separate USB-to-serial adapter, often called an FTDI adapter, to connect to a computer for uploading code. This design keeps the board small and washable, as the delicate USB connector is removed after programming.
In contrast, the LilyPad Arduino USB variant integrates a different microcontroller, the ATmega32U4, which includes native USB communication capabilities. This means it can be plugged directly into a computer via a micro-USB cable for programming, similar to modern Arduino boards like the Leonardo. However, this convenience comes with a trade-off: the LilyPad USB operates at 3.3 volts, whereas the classic LilyPads operate at 5 volts. This voltage difference is significant because connecting a 5-volt sensor to a 3.3-volt board can damage the electronics, and mixing the two types of accessories requires careful attention to voltage levels. The ATmega32U4 also allows the LilyPad USB to act as a Human Interface Device (HID), meaning it can pretend to be a keyboard or mouse. This enables creative projects where a sewn button on a glove might type a message or move a cursor on a screen, all without needing additional hardware.
Despite its innovative design, the LilyPad is now considered an end-of-life product, with official documentation moved to a "retired" section on the Arduino website. Users should be aware of several practical challenges. First, the boards are sensitive to power polarity and voltage; exceeding 5.5 volts or connecting the battery backward can instantly destroy the microcontroller. Second, the conductive thread used for connections is prone to fraying and short circuits, which is the most common cause of failure in LilyPad projects. Proper insulation techniques are essential to prevent the positive and negative threads from touching. Third, the community infrastructure has fragmented, with some original websites now defunct or repurposed, requiring users to rely on archived resources and SparkFun’s current tutorials. Additionally, the LilyPad USB has known quirks, such as the USB port disappearing when the board resets, which can interrupt serial communication during debugging.
The ecosystem surrounding the LilyPad is rich with compatible components designed to be sewn rather than soldered. SparkFun and other manufacturers produced a wide array of peripherals, including light sensors, temperature sensors, vibration motors, buzzers, and various types of LEDs, all with matching sew tabs. This modularity allows for complex projects, such as illuminated masks, interactive plush toys, or smart clothing, without requiring advanced engineering skills. The "SimpleSnap" variant further simplifies this by using snap connectors instead of sew tabs, allowing components to be attached and detached easily, though this version is not designed to be washed. For those interested in the history of this platform, it is worth noting that the LilyPad toolkit is credited with democratizing wearable technology, inspiring a generation of makers to view clothing as a canvas for electronic expression. While newer, more powerful boards exist today, the LilyPad remains a significant historical artifact and a practical entry point for understanding the intersection of electronics and textiles, provided one respects its voltage limits and mechanical fragility. Its legacy endures in the countless educational kits and artistic installations that continue to use its principles of soft, sewable computing.

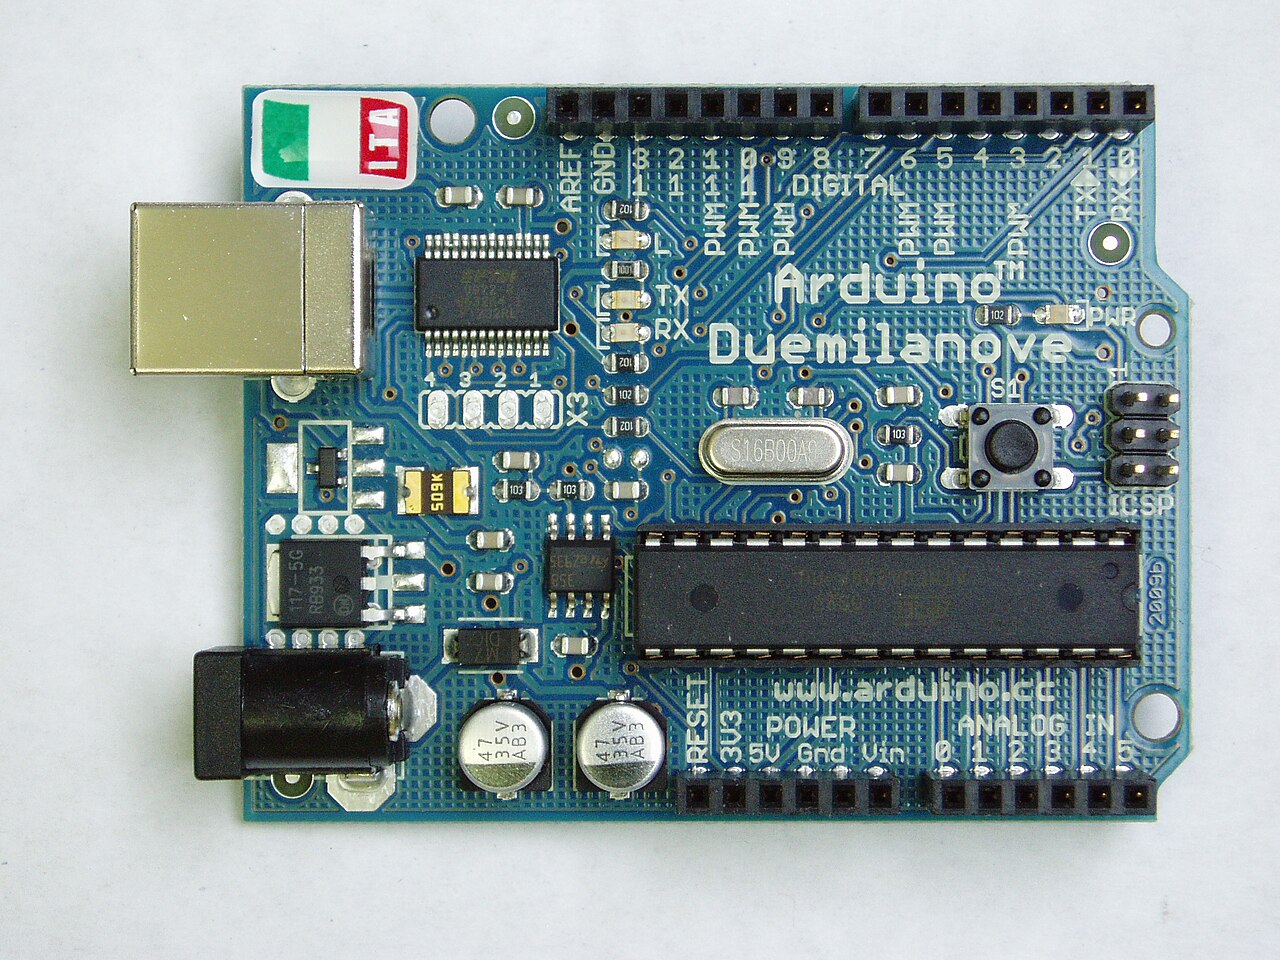
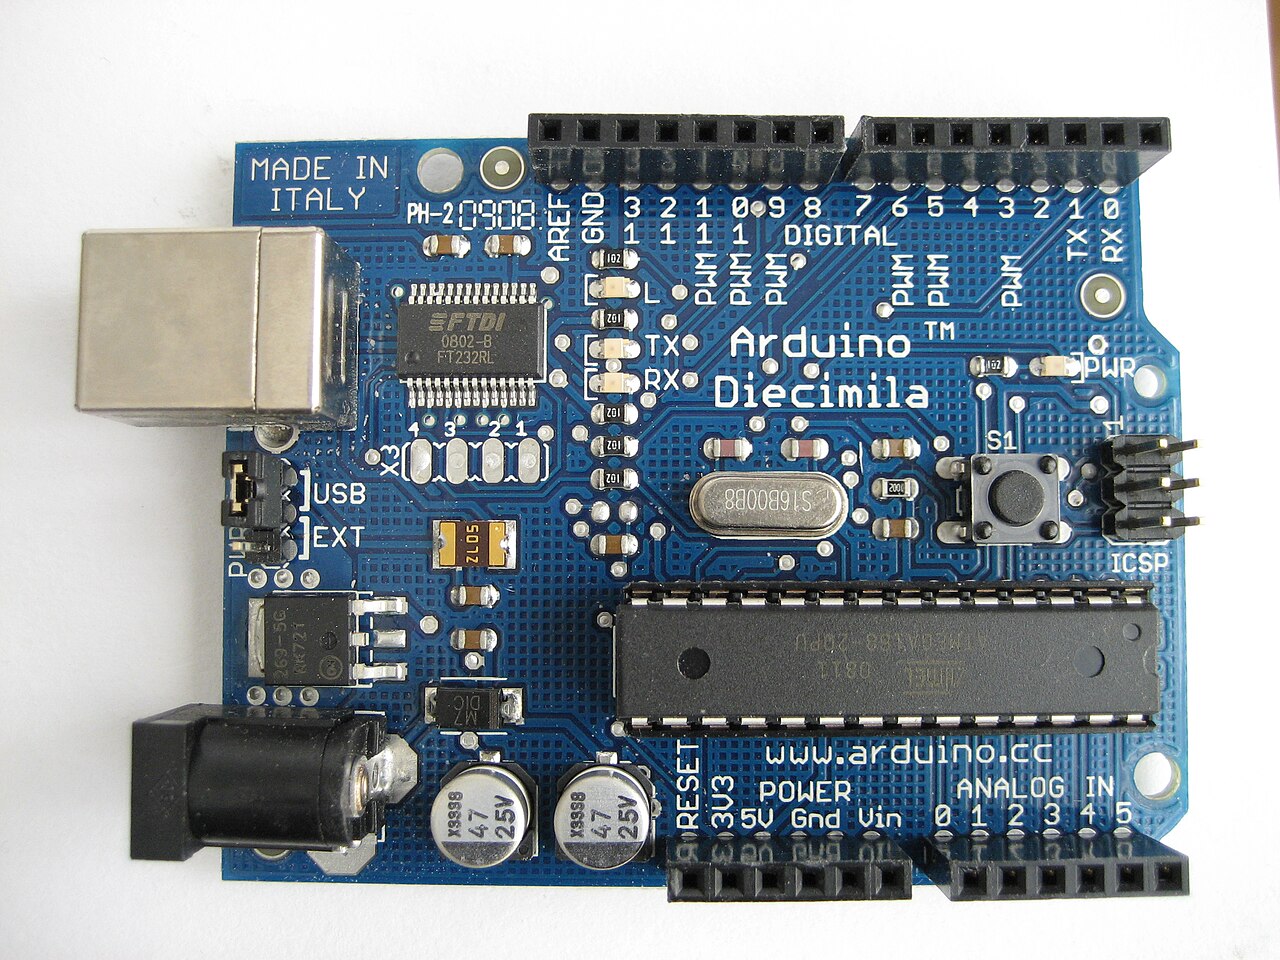
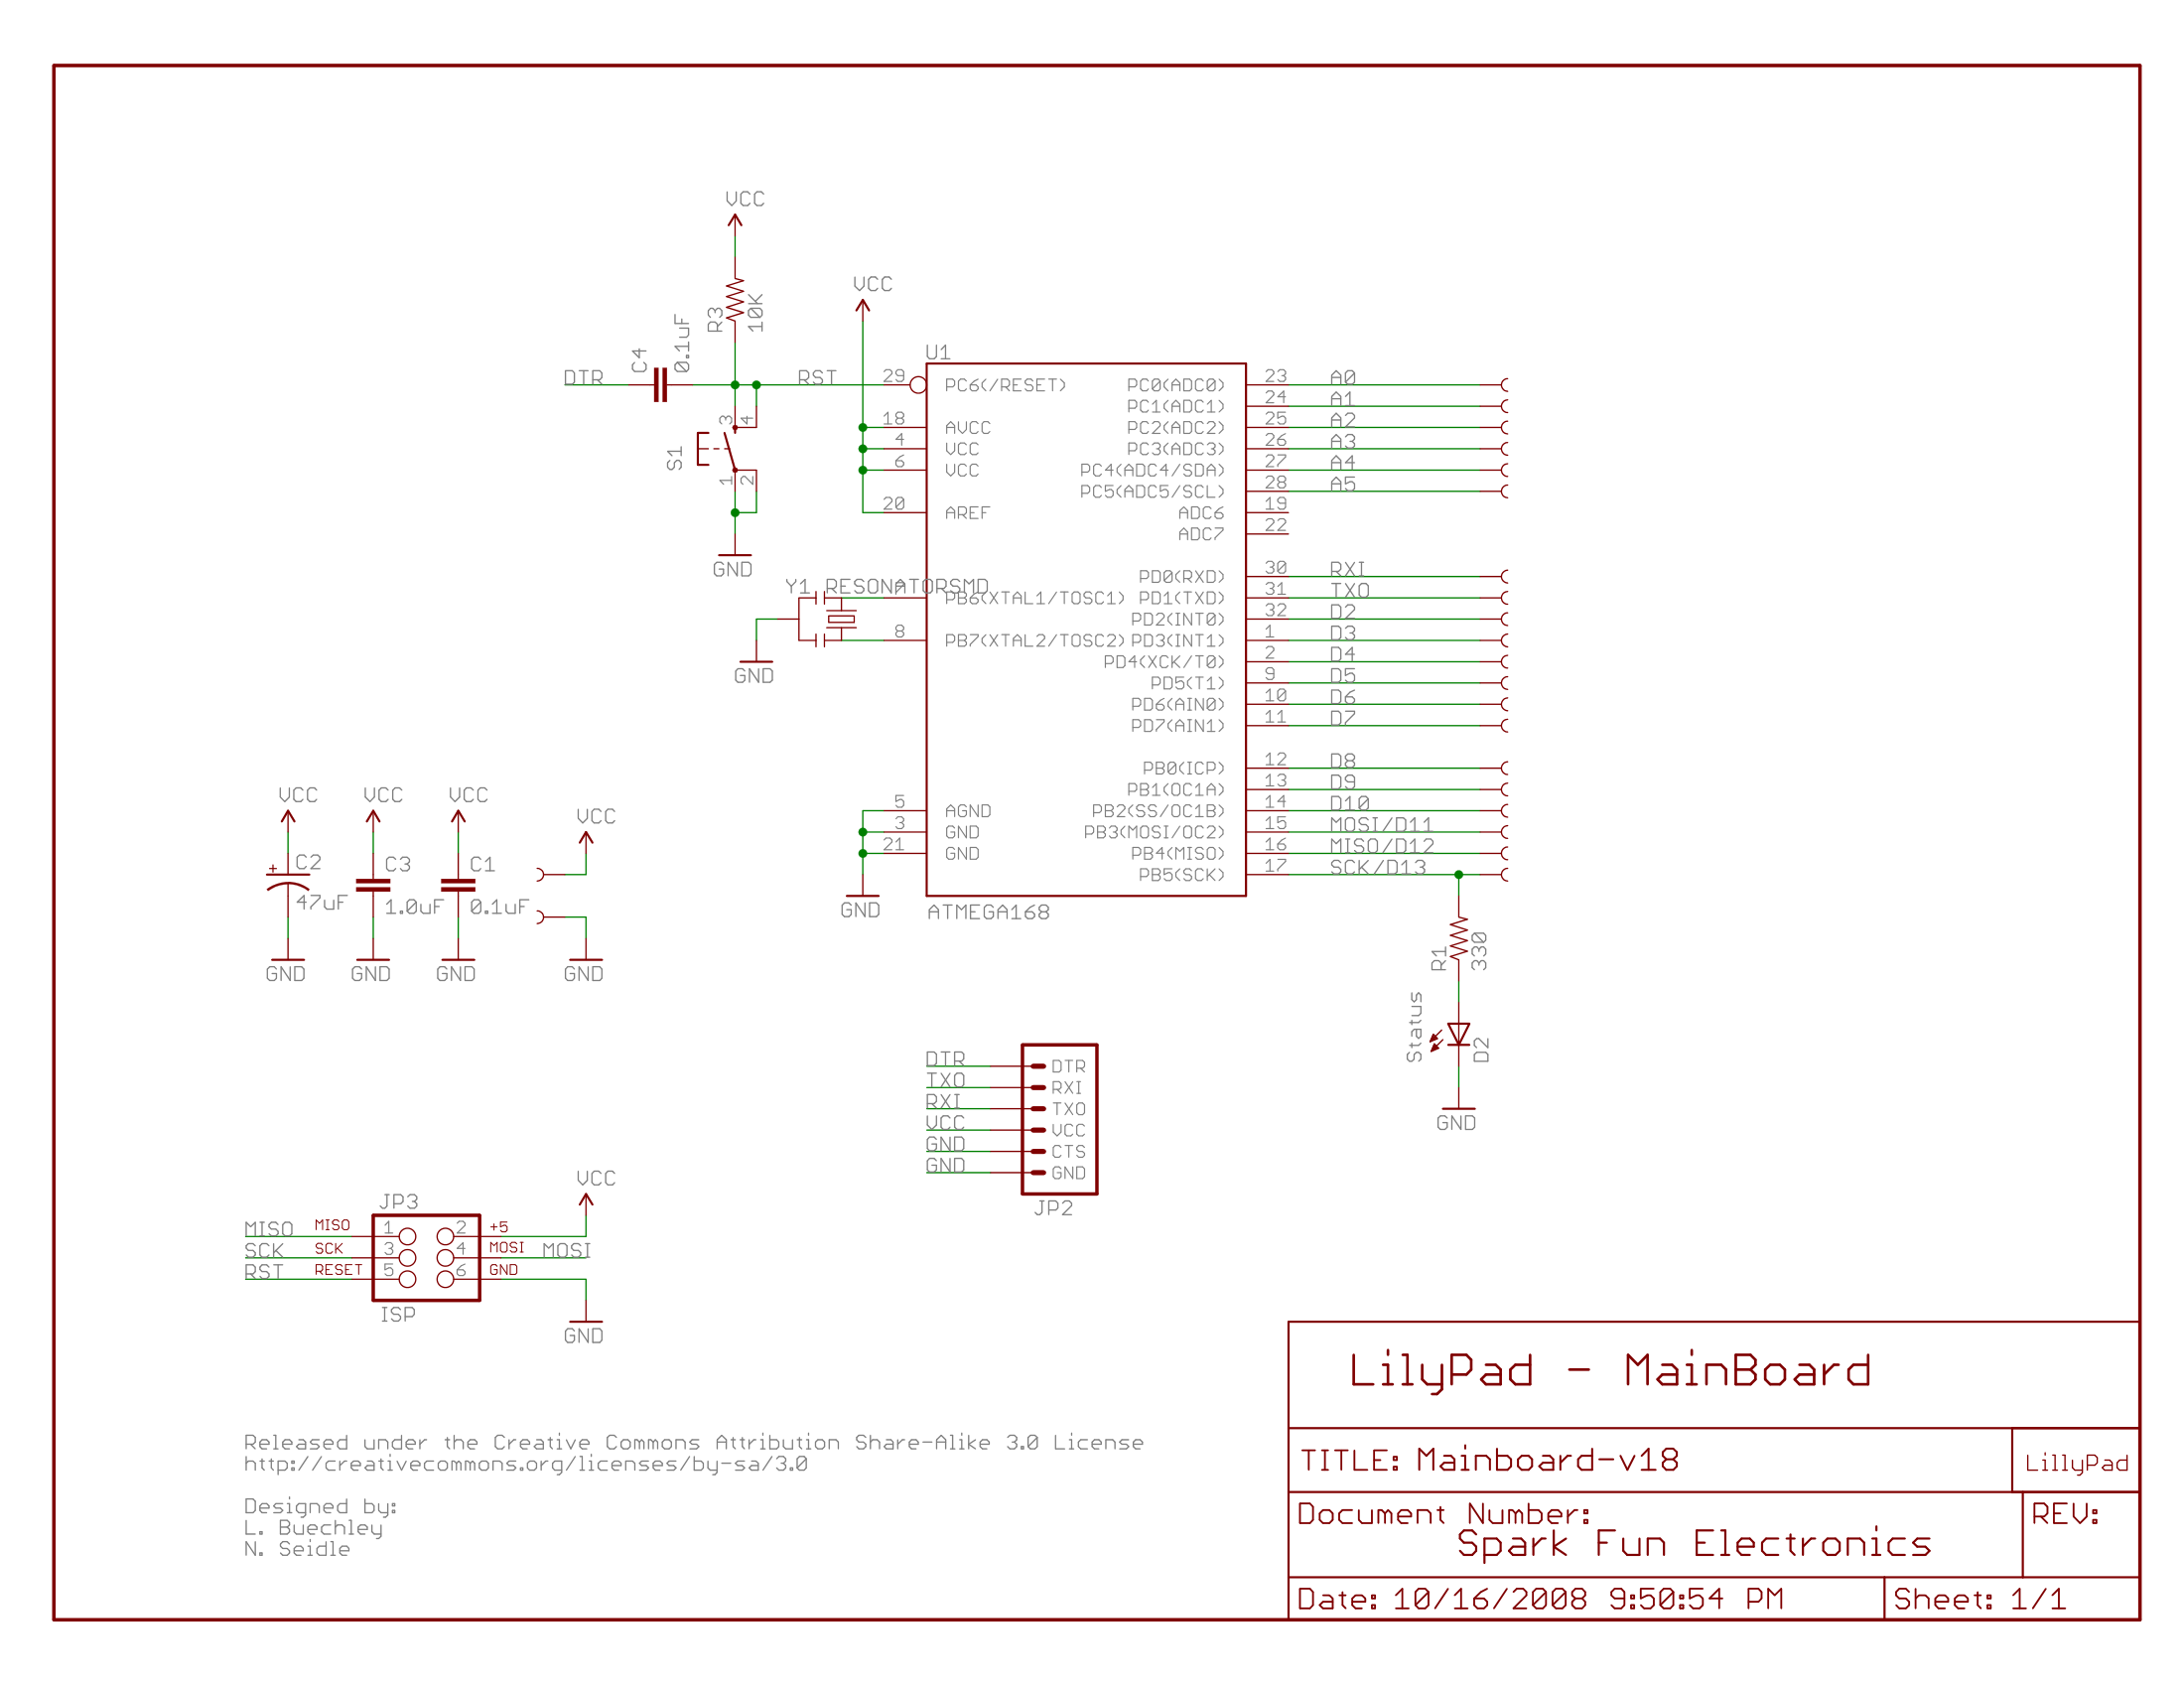
Pinout diagram
| Attr | Specs | verified |
|---|---|---|
power | 2.7–5.5 V to the +/− tabs (Main); 3.7 V LiPo on JST with MCP73831 charge controller (Simple/SimpleSnap); FTDI-compatible USB-serial "USBSerial Light" adapter for programming. Never exceed 5.5 V or reverse polarity — official warning: "you'll kill it." LilyPad Arduino USB — ATmega32U4, 8 MHz, 3.3 V logic ( | ✔ |
- Designer / origin: The LilyPad system was designed by Leah Buechley while pursuing her Ph.D. in computer science at the University of Colorado Boulder; the commercial kit launched in 2007 as a collaboration between Buechley and SparkFun Electronics (SparkFun Learn: ; Wikipedia: — "Known for: LilyPad Arduino Toolkit, 2007"). The Arduino announcement blog post is dated 2007-10-17 ( , archived copy on web.archive.org).
- Manufacturer / sellers: SparkFun Electronics (original and long-time maker, and Arduino SA (store SKUs E000017, DEV-13342, DEV-10274, E000059 per and ).
- Status: End-of-life / retired. All official Arduino pages live under docs.arduino.cc/retired/…; SparkFun marks the Simple (products/10274) and SimpleSnap (products/10941) as "Retired" (see comparison guide ). The LilyPad Arduino USB Plus (SparkFun products/14631) and LilyPad ProtoSnap Plus (products/14346) were still listed as of 2026.
- Launch price: >
- Variants: - LilyPad Arduino Main Board — ATmega168V or ATmega328V, 14 digital I/O, FTDI header programming ( - LilyPad Arduino Simple — ATmega328P, 9 I/O, JST LiPo connector + MCP73831 charger ( - LilyPad Arduino SimpleSnap — Simple + built-in 110 mAh LiPo + female snap connectors instead of sew tabs ( - LilyPad Arduino USB — ATmega32U4 with native micro-USB, 3.3 V logic ( - LilyPad USB Plus (SparkFun, products/14631) — ATmega32U4, 10 digital / 7 analog I/O, built-in RGB + 6 white LEDs. - ProtoSnap kits (products/11262, /11201, /14346) and pre-programmed LilyTiny / LilyTwinkle sewables (not Arduinos).
+ Strengths
- Sewable by design: round 50 mm board with large plated sew tabs; stitched to fabric and to sensors/actuators with conductive thread (stainless-fibre thread), the defining e-textile interface of the platform (
- Washability: Simple boards are hand-washable (cold water, mild detergent, drip dry, remove battery first) — documented on the official page ( SimpleSnap is designed to detach via snaps instead of being washed (built-in battery).
- Low-voltage AVRs: the "V" parts (ATmega168V/328V) run down to 1.8–2.7 V, chosen for coin-cell/LiPo wearable power budgets (
- Integrated LiPo charging (MCP73831) with charge LED on Simple/SimpleSnap/USB.
- USB HID: the LilyPad USB (ATmega32U4) can emulate a keyboard and mouse from sewn-in buttons using the Arduino Keyboard/Mouse libraries (
- Huge sew-on peripheral ecosystem: LilyPad LEDs, button board, slide switch, light sensor, temperature sensor, buzzer, vibe motor, coin-cell holder, Simple Power board, ProtoSnap pre-wired strips (
- Historical significance: the LilyPad toolkit "began a major wave of DIY wearable electronics" (
− Weaknesses
- Polarity/voltage is lethal: >5.5 V or reversed power instantly destroys Main and Simple boards — explicit official warning (
- Voltage-domain mismatch: LilyPad USB runs at 3.3 V while the classic LilyPads run at 5 V; applying 5 V to USB-board pins "may damage it", and 5 V LilyPad accessories may not be read reliably at 3.3 V logic (
- Wrong-board bricking (soft): uploading to a LilyPad USB with "Leonardo"/"Micro" selected makes USB communication fail (8 MHz vs 16 MHz clock); recovery requires the double-reset trick during upload (
- USB drops on every reset: like Leonardo/Micro, the 32U4's USB stack is the sketch itself — the COM port vanishes when the board resets, breaking serial-wait patterns (same getting-started guide).
- Can't power peripherals from FTDI on Simple/SimpleSnap: the battery-charging circuit prevents powering e.g. a Bluetooth modem through the FTDI connector (
- Official doc inconsistencies: the USB page's spec table says 4 PWM channels while its body lists five pins (3, 9, 10, 11, 13), and says analog inputs are "labeled A0 through A11" while listing only A2–A5 ( The SimpleSnap page claims 3.3 V I/O while the near-identical Simple page says 5 V — copy-paste errors; ATmega328P @ LiPo voltage design).
- ICSP pads unusable with standard headers on the USB board (holes too small) (official page).
- Dead community infrastructure: lilypadarduino.org, linked from official docs as "a comprehensive guide", is now a squatted smartwatch-affiliate site (fetched 2026-10-13), and Leah Buechley's MIT project page returns HTTP 500 — use web.archive.org copies.
- Windows quirks: LilyPad USB Plus "not currently supported on Windows 7" ( classic LilyPads need manual FTDI VCP driver installs (
- Conductive-thread shorts are the #1 field failure (thread fraying, loose strands bridging +/−); SparkFun documents insulation techniques (
- Retour d'expérience expert expert — expert-arduino
- Retour d'experience sur la LilyPad. C'est une carte culte pour le textile, mais attention aux pieges. La section Problemes confirme ce que je craignais : la gestion de l'alimentation est critique. Sur les modèles Main et Simple, dépasser 5.5 V ou inverser la polarite detruit la carte instantanement… — expert-arduino
- Merci pour ce rappel. J'ai justement rencontre le bug de l'upload. J'avais selectionne 'Leonardo' par reflexe pour ma LilyPad USB car le microcontroleur est le 32U4. Resultat : le port COM disparaissait des la réinitialisation et impossible de flasher. J'ai du utiliser l'astuce du double-reset just… — couturiere_num
- Pour le lavage, la cle est de retirer la batterie (pour la Simple) et d'utiliser de l'eau froide. J'ai reussi a faire une vingtaine de cycles sans souci sur une veste, mais j'ai isole mes fils conducteurs avec du vernis a ongles transparent aux points de soudure/couture. Sans ca, les courts-circuit… — maker_fabric
Community feedback and projects
- Wearable sleeve that uses Arduino Lilypad, suggestions for bluetooth module forum.arduino.cc
- I need help with my daughter's Lilypad project with LEDs forum.arduino.cc
- Looking for a FLORA or LilyPad magnetometer, I think forum.arduino.cc
- Official retired board pages (fetched 2026-10-13)
- Official retired board pages (fetched 2026-10-13)
- Official retired board pages (fetched 2026-10-13)
- Official retired board pages (fetched 2026-10-13)
- Official getting-started guides
- Official getting-started guides
- Datasheets
- Datasheets
- Datasheets
- Schematics / OSH files
- Schematics / OSH files
- Schematics / OSH files
- Schematics / OSH files
- Board definitions
- Community / tutorials
- Community / tutorials
- Community / tutorials
- Community / tutorials
- Community / tutorials
- Polarity/voltage is lethal: >5.5 V or reversed power instantly destroys Main and Simple boards — explicit official warning (
- Voltage-domain mismatch: LilyPad USB runs at 3.3 V while the classic LilyPads run at 5 V; applying 5 V to USB-board pins "may damage it", and 5 V LilyPad accessories may not be read reliably at 3.3 V logic (
- Wrong-board bricking (soft): uploading to a LilyPad USB with "Leonardo"/"Micro" selected makes USB communication fail (8 MHz vs 16 MHz clock); recovery requires the double-reset trick during upload (
- USB drops on every reset: like Leonardo/Micro, the 32U4's USB stack is the sketch itself — the COM port vanishes when the board resets, breaking serial-wait patterns (same getting-started guide).
- Can't power peripherals from FTDI on Simple/SimpleSnap: the battery-charging circuit prevents powering e.g. a Bluetooth modem through the FTDI connector (
- Official doc inconsistencies: the USB page's spec table says 4 PWM channels while its body lists five pins (3, 9, 10, 11, 13), and says analog inputs are "labeled A0 through A11" while listing only A2–A5 ( The SimpleSnap page claims 3.3 V I/O while the near-identical Simple page says 5 V — copy-paste errors; ATmega328P @ LiPo voltage design).
- ICSP pads unusable with standard headers on the USB board (holes too small) (official page).
- Dead community infrastructure: lilypadarduino.org, linked from official docs as "a comprehensive guide", is now a squatted smartwatch-affiliate site (fetched 2026-10-13), and Leah Buechley's MIT project page returns HTTP 500 — use web.archive.org copies.
- Windows quirks: LilyPad USB Plus "not currently supported on Windows 7" ( classic LilyPads need manual FTDI VCP driver installs (
- Conductive-thread shorts are the #1 field failure (thread fraying, loose strands bridging +/−); SparkFun documents insulation techniques (
- Premier clignotement d'une LED cousue debutant Schéma : IMG-lilypad-debutant-1-lilypad-clignotement-led.svg — Vue de dessus de la LilyPad SimpleSnap avec pile LiPo 3,7 V clipsée et LED cousue entre la pastille 13 et la pastille moins.
- Bouton de contact cousu et pull-up interne debutant Schéma : IMG-lilypad-debutant-2-lilypad-bouton-pullup.svg — Deux boutons-pression reliés par fil conducteur formant un contact entre la pastille 2 et le moins, LED sur la pastille 9.
- Lire un capteur de lumière sur A2 debutant Schéma : IMG-lilypad-debutant-3-lilypad-lecture-lumiere.svg — Capteur de lumière LilyPad câblé sur A2, câble FTDI vers un ordinateur affichant les valeurs 0 à 1023.
- LED qui respire en PWM intermediaire Schéma : IMG-lilypad-intermediaire-1-lilypad-pwm-respiration.svg — LED sur la pastille PWM 9 avec halo de luminosité dégradée et courbe de respiration à côté de la carte.
- Mélodie sur buzzer LilyPad intermediaire Schéma : IMG-lilypad-intermediaire-2-lilypad-buzzer-melodie.svg — Buzzer LilyPad sur la pastille 10, notes de musique et contact de déclenchement cousu sur la pastille 2.
- Trace horodatée de capteurs sur le port série intermediaire Schéma : IMG-lilypad-intermediaire-3-lilypad-trace-capteurs-serie.svg — Capteurs lumière (A2) et température (A3) reliés par fil conducteur, câble FTDI vers un portable affichant une trace CSV horodatée.
- Sommeil profond et watchdog pour économiser la pile avance Schéma : IMG-lilypad-avance-1-lilypad-sleep-watchdog.svg — Carte endormie sous un croissant de lune, icône watchdog avec horloge près de l'ATmega328P et batterie à faible consommation.
- Programmer par FTDI et dompter le bootloader avance Schéma : IMG-lilypad-avance-2-lilypad-ftdi-bootloader.svg — LilyPad reliée à un adaptateur FTDI USB-série, ligne DTR mise en évidence et quartz 8 MHz encadré à côté d'un 16 MHz barré.
- Timer1 et registres AVR : le tempo sans delay avance Schéma : IMG-lilypad-avance-3-lilypad-registres-timer1.svg — ATmega328P en coupe avec bloc timer1 CTC, registres OCR1A et TCNT1, prescaler /8 et signal carré de sortie sur la pastille 9.
Code library — examples written for this board
clignotante.inoArduinobouton-led.inoArduinopwm-respiration.inoArduinoluxmetre-couture.inoArduinointerrupteur-tilt.inoArduinoservo-balayage.inoArduinobuzzer-melodie.inoArduinoeeprom-log.inoArduinosommeil-batterie.inoArduinoneopixel-cousu.inoArduino
Examples and repos found online
- arduino/ArduinoCore-avr github.com
- sparkfun/LilyPad_MP3_Player github.com
- sparkfun/Bluetooth_Mate github.com
- pearlchen/ArduinoLilyPadProtoSnap github.com
- markfickett/bicycle github.com